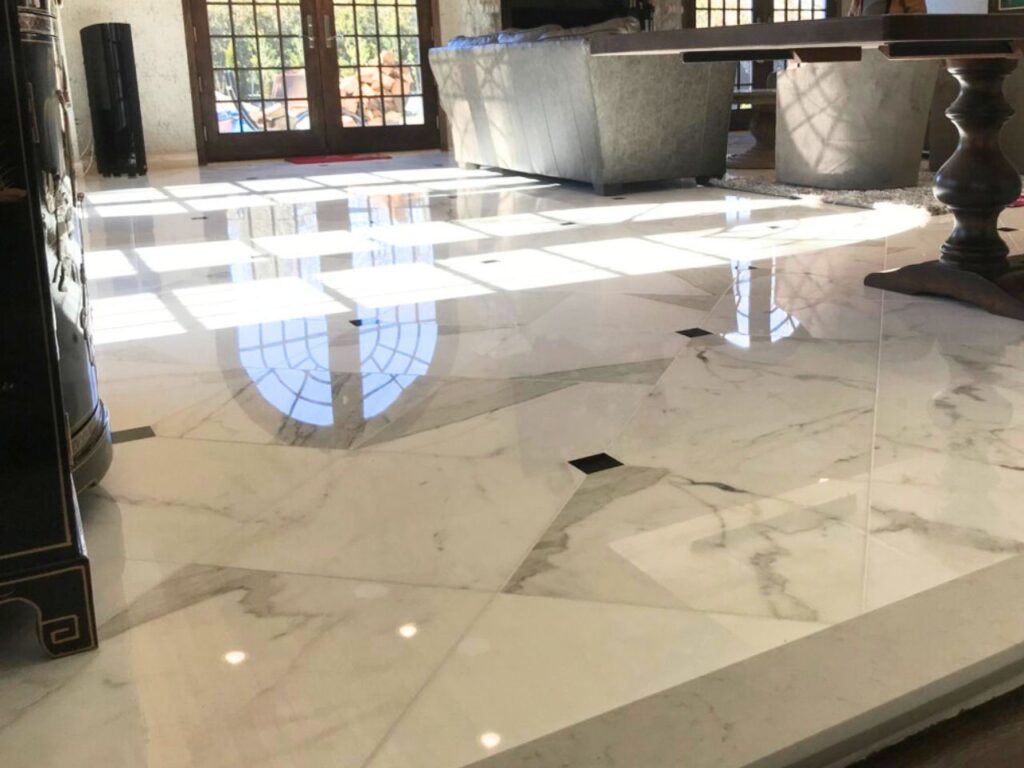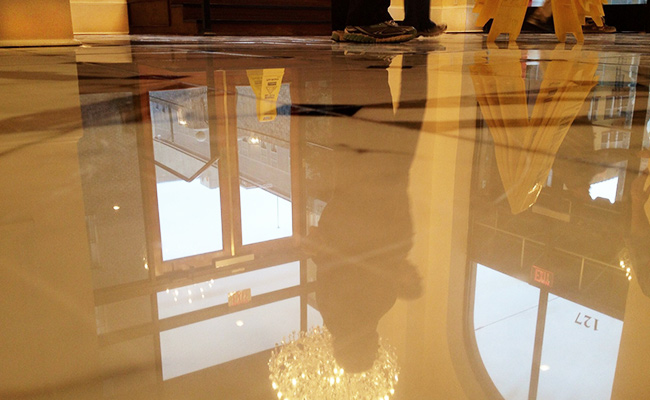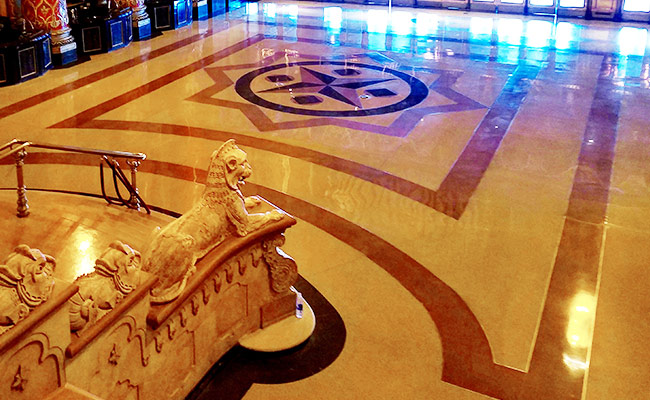
Marble floors can make a stunning first impression — but only if they’re properly cared for. If your foyer, hallway, or living-area tile has lost its sparkle, don’t worry! With the right technique, you can bring back that mirror-like shine. Read on for a simple, detailed guide to buffing your marble floors — and when to hand the job off to the pros.
1. Why buffing matters

Buffing serves several purposes in marble care:
- It restores shine by removing micro-scratches and surface dulling caused by foot traffic, dirt, and wear.
- It prepares the surface for resealing or protective coatings — which help prevent etching, staining and further loss of luster.
- It extends the life and appearance of your investment; dull, scratched stone looks tired and invites deeper damage.
2. Preparing for a DIY floor buffing
Before diving into the actual buffing process, you’ll want to make sure the surface and environment are ready.
What you’ll need:
- A soft dust mop or microfiber cloth to remove loose dirt and grit (even tiny sand grains can scratch marble)
- A pH-neutral cleaner made for natural stone (not acidic, not harsh)
- A clean bucket of warm water, a soft mop or microfiber pad, and drying cloths.
- (Optional) For buffing: a low-RPM floor buffer with a white or red pad or a polishing machine with diamond pads for deeper restoration.
- (Optional) Marble polishing powder or compound designed for stone.
Steps to prep:
- Remove all furniture, rugs or objects from the area.
- Dust mop the floor thoroughly in one direction to avoid dragging grit across the surface.
- Wet-mop using a pH-neutral stone cleaner (or warm water) and then rinse with fresh water. Make sure the mop is only damp — excess water can seep into the stone and cause cloudy spots.
- Dry the floor completely using soft clean towels or allow it to air dry fully.
- Inspect for any damage: deep scratches, chips, dull spots or etched areas will require more than simple buffing (we’ll cover that in the “when to call a pro” section).
3. How to Buff a Marble Floor – Step by Step
Once your floor is clean, dry and clear of obstructions, you can proceed with the buffing process. Here are the typical steps:
Step A: Light Manual Buffing
If the floor is in relatively good condition (just mildly dull or scratched):
- Sprinkle a small amount of marble polishing powder or floor polish designed for stone onto the section you will work on.
- Using a damp microfiber cloth or pad, buff the area in a circular or side-to-side motion, applying moderate pressure. Work in small sections to ensure even coverage.
- After buffing, wipe away residue with a clean, damp cloth and then dry with another soft towel.
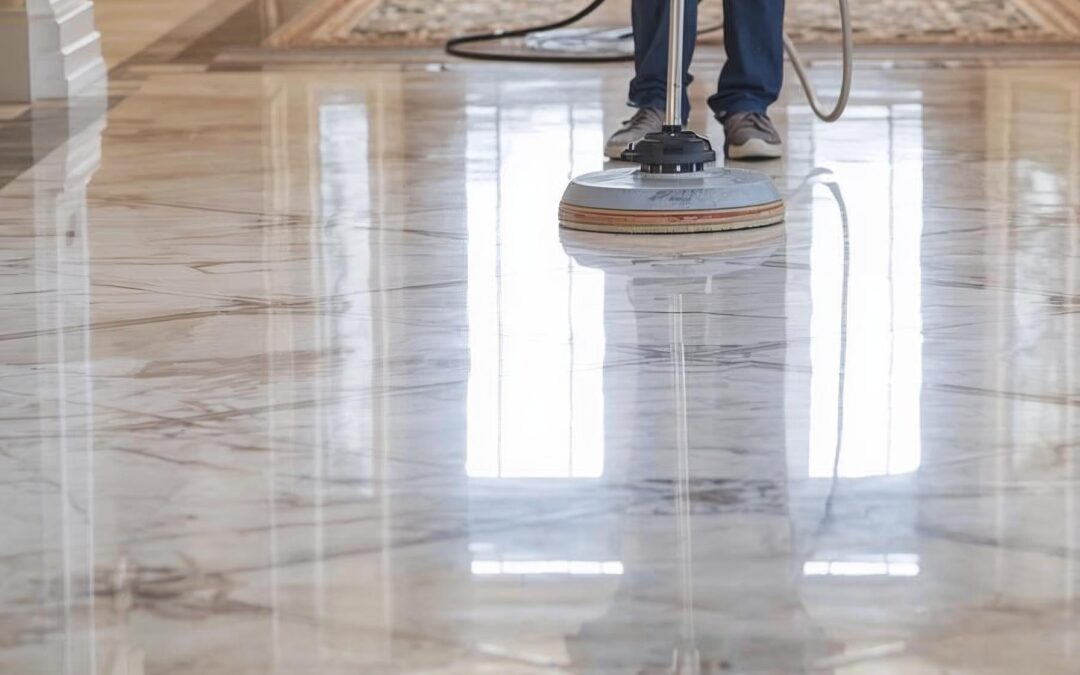
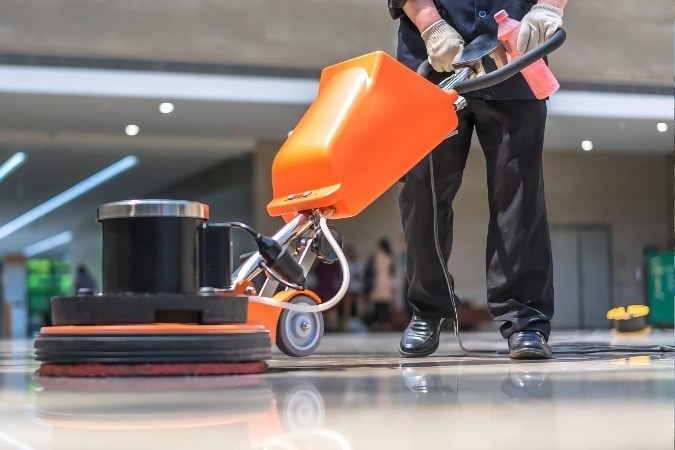
Step B: Machine Buffing / Light Restoration
For floors that are more worn (scratches, dull spots, lost sheen):
- Use a floor buffer fitted with a soft pad (white or red) or diamond polishing pads (starting with coarser and moving to finer grits) as described in professional guides.
- Keep the floor slightly wet during the sanding/polishing process (for wet polishing) to reduce dust and friction.
- Move the machine slowly across the surface in overlapping passes; don’t rush. Consistency is key.
- After machine passes, you may apply a polishing powder and finish with hand buffing to bring out the gloss.
- Once done, ensure the floor is thoroughly rinsed and dried.
Step C: Resealing / Protective Finish
Once buffed and polished, it’s wise to apply a stone sealer appropriate for marble to protect against stains, moisture, and future etching. Many stone care providers recommend yearly inspection/sealing.
Place rugs or mats at entryways to trap grit and prevent future wear, and implement a maintenance routine (see step 4).
4. Ongoing Maintenance (to keep it looking sharp)
- Dust-mop daily or every few days to remove abrasive particles.
- Damp-mop weekly with a pH-neutral stone cleaner; avoid acidic cleaners like vinegar, lemon juice or generic floor products—they can etch marble.
- Blot spills immediately—especially oily, dark or acidic liquids (wine, coffee, citrus) which can stain or etch.
- Avoid dragging heavy furniture across the marble; use felt pads or lift and carry to prevent scratches.
- Periodically inspect the floor for dull spots or loss of shine—if things are looking “off,” it may be time to buff again (or call a pro).
5. When to Call a Professional
If you have better things to do with your time, call us!
There are situations where DIY buffing will not sufficiently restore the marble floor—and trying to push through may risk more damage. Here are signs you should call in professionals (SRS Michigan) and reasons why:
Signs You Need a Professional Floor Buffing Company
- Deep scratches or gouges that cannot be removed by light buffing. These often require honing or grinding.
- Etching from acids (dull spots that appear cloudy or etched instead of glossy) — when the stone’s surface has been chemically attacked, simple polishing won’t fully restore it.
- Uneven wear, where some areas are shiny and others dull, indicating that traffic patterns have worn the finish unevenly.
- Large areas of dullness where the overall floor no longer responds to buffing or polishing.
- Restoration required for high-traffic commercial or premium residential spaces where maintaining high gloss and value is important.
- Lack of proper equipment or experience — diamond pads, floor buffers, sealers, and moisture control all play a critical role.
Why Choose SRS Detroit
If you’re in the Detroit region and your marble floor needs more than a simple buff, here’s why SRS Detroit is the smart choice:
- Local expertise: Technicians who understand Michigan building conditions — moisture, traffic, and seasonal changes.
- Comprehensive services: Full-service stone restoration including buffing, honing, polishing, sealing, and maintenance packages.
- Proven experience: Skilled in restoring high-end homes and commercial settings where finish, durability, and aesthetics all matter.
- Transparent process: Clear evaluation, correct restoration techniques, and straightforward maintenance recommendations.
Feel free to give us a call for a no-obligation assessment of your marble floor. Together, we’ll determine whether a DIY buff will suffice or if a full professional restoration is the best way to protect your investment.
Buffing your marble floors is absolutely doable — with the right preparation, cleaner, tools, and technique, you can restore their shine and extend their life. But know your limits: deep damage, etching, heavy-traffic areas, or significant wear call for a pro!